Field Dressing a Deer Like a Pro: How to Step-by-Step Guide
Learn why field dressing a deer is essential for safe, quality meat. Discover tools, steps, and expert tips to preserve your harvest the right way.
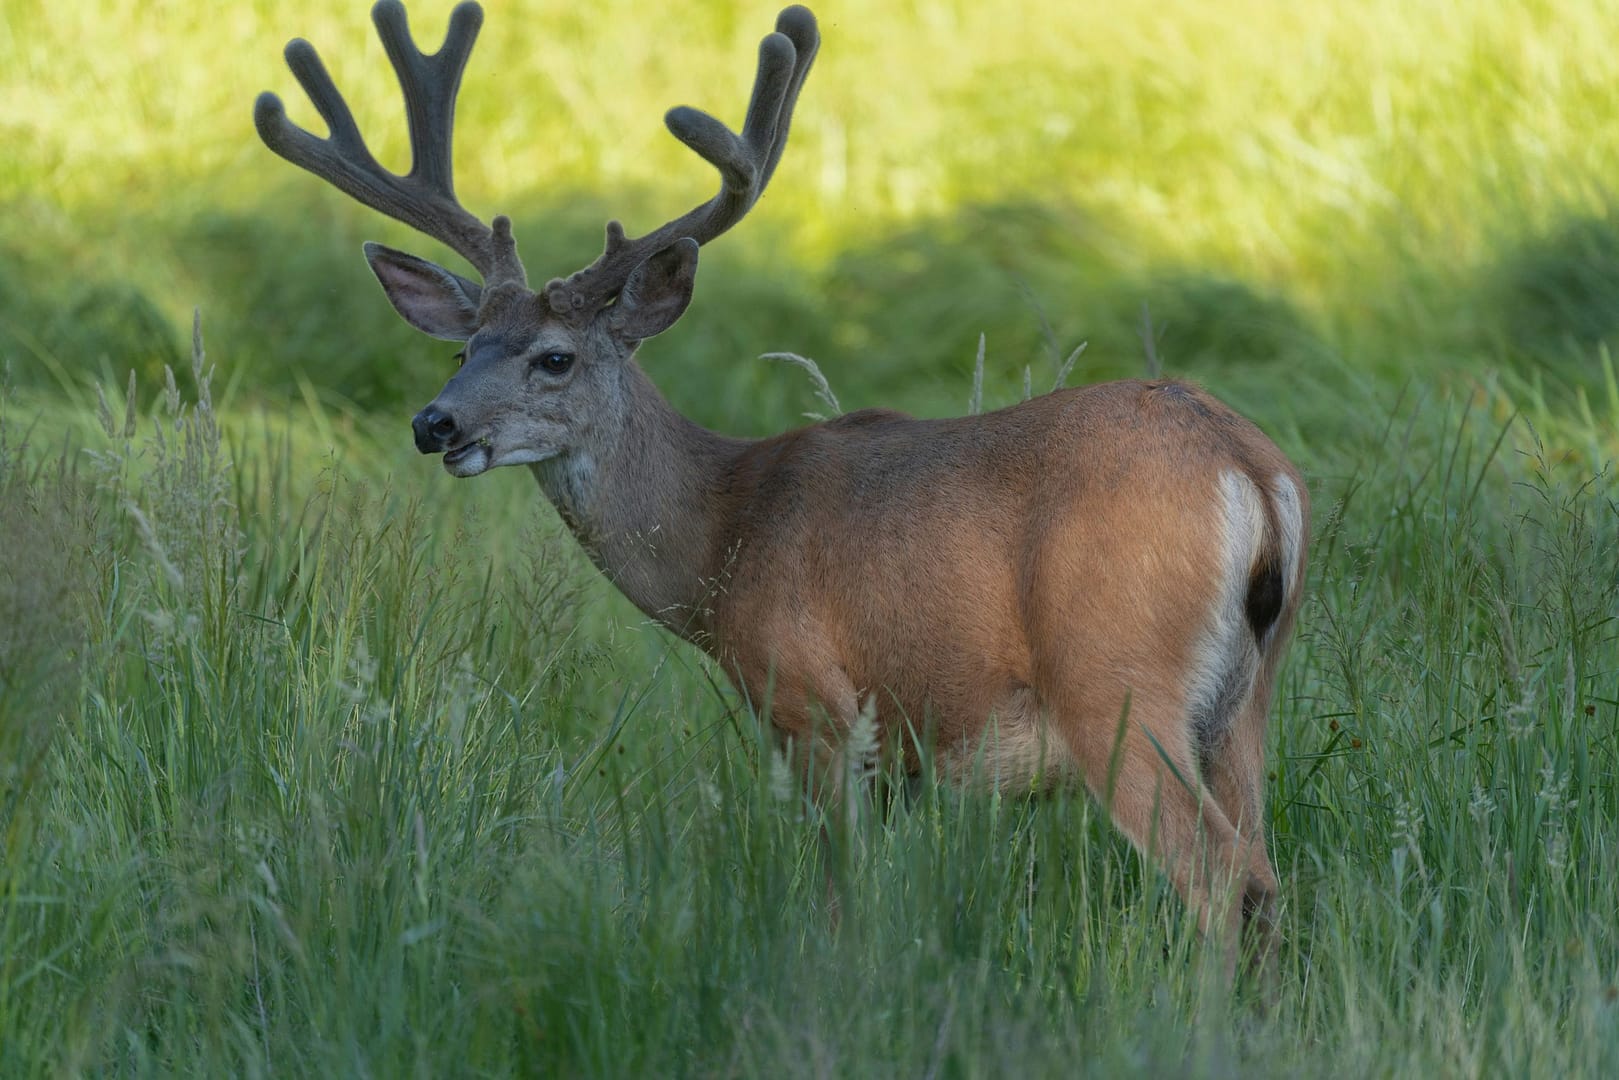
Why Field Dressing a Deer Matters
Field dressing a deer is the first and most critical step in harvesting wild game meat that is safe, clean, and fit for consumption. Field dressing a deer removes the internal organs, cools the carcass quickly, and helps prevent spoilage or bacterial growth. Without this essential process, the quality and safety of venison drop dramatically, especially in warm temperatures or if transportation to cooling facilities takes several hours.
Proper field dressing also shows respect for the animal by preserving as much usable meat as possible. Ethical hunters understand that a humane harvest includes caring for the game quickly and efficiently after the kill. It’s also a legal requirement in many states to properly tag and begin field processing within a certain timespan. Agencies like the U.S. Fish & Wildlife Service offer up-to-date guidance on game handling and field care essentials, including chronic wasting disease (CWD) precautions when field dressing a deer.
Lastly, your success in the woods doesn’t end with the shot—it continues with skillful handling of your harvest. Learning this process, and following it through responsibly, connects us to generations of hunters who understood the importance of field preparation.
Essential Tools for Field Dressing a Deer
Carrying the right equipment is key to successfully field dressing a deer. At minimum, you’ll need a sharp hunting knife. A fixed blade knife offers durability and reliability in wet, cold, or rugged environments. A gut hook blade helps make clean cuts without puncturing the stomach or intestines.
Here’s a recommended field dressing checklist:
- High-quality field dressing knife (e.g., from Havalon or Benchmade)
- Gut hook or dedicated gutting tool
- Nitrile gloves for cleanliness and protection
- Bone saw (for hunters who prefer splitting the pelvis or sternum)
- Game bags for clean meat transport
- Knife sharpener or field stone
- Headlamp for evening hunts
- Tarp to keep your work area off the ground
- Wet wipes or field cleaning cloths
Brands like Outdoor Edge offer complete field dressing kits that can conveniently be stored in your hunting pack, making sure you’re ready the moment a deer is down.
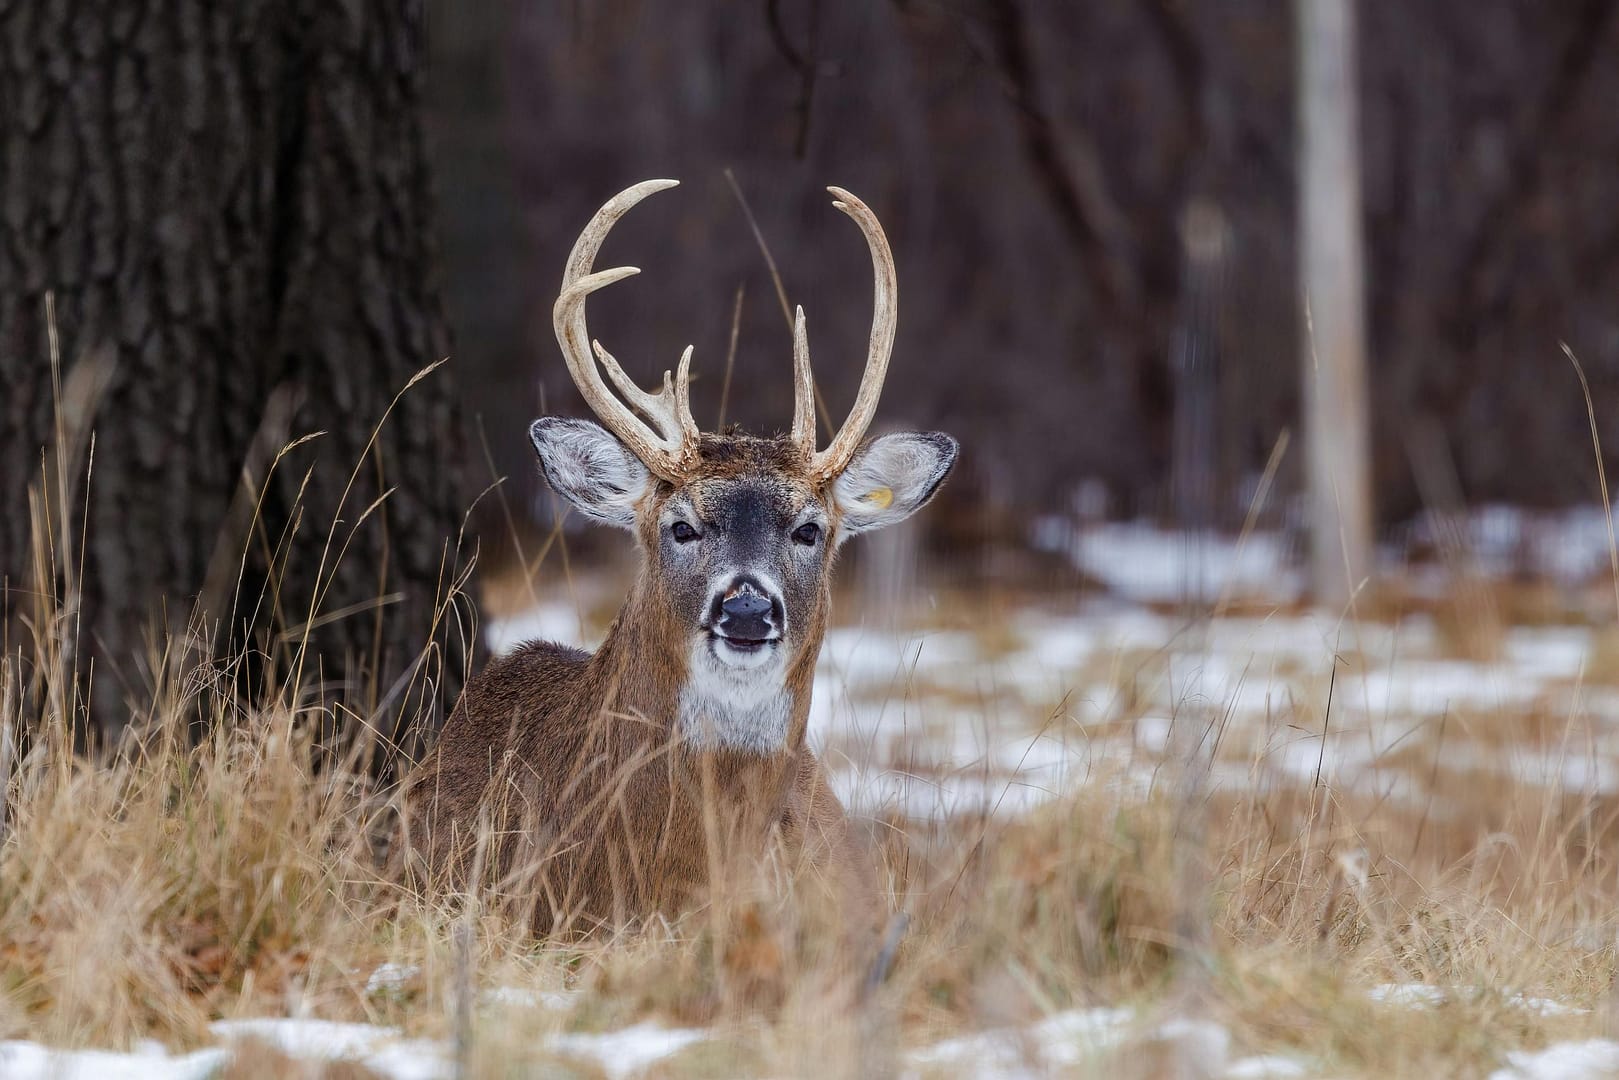
Prepping for the Process: Safety and Setup
Before field dressing a deer, ensure your safety and confirm the animal is deceased. Carefully approach the deer from behind and touch the eye with a stick to ensure no movement or response. If needed, apply a finishing shot swiftly and ethically.
Position the carcass on its back in a stable, accessible area—preferably on a slope for drainage. Spread the hind legs apart and begin clearing the area of debris. Gloves are a must to protect against disease. Chronic wasting disease (CWD) is a serious concern among deer populations, and hunters are advised by state wildlife agencies to wear gloves and avoid contact with spinal fluids or brain tissue during field dressing.
Be mindful of your surroundings: uneven terrain, snow, rain, or nightfall can complicate things. Make sure your tools are within reach, and let your hunting partners know where you are located during the process.
Step-by-Step Guide to Field Dressing a Deer
Field dressing a deer involves a straightforward but precise set of actions. Here’s how to do it:
- Start with a shallow incision through the skin just below the sternum. Use your non-cutting hand to separate the hide and muscle layers before working in deeper.
- Cut downward to the pelvis, being careful to avoid puncturing internal organs—especially the stomach and intestines. A gut hook can help prevent accidents like cutting into the bladder or bowels.
- Carefully cut the diaphragm away from the chest wall to access the lungs and heart.
- Reach inside and loosen the connective tissues to free the organs. Grip the windpipe and sever it near the head, then gently pull the internal organs out.
- Some hunters split the sternum with a bone saw to better access the upper cavity. This is optional and depends on your method of further processing.
- Inspect the organs for unusual color, odor, or texture—all potential signs of disease.
- Turn the deer on its side so remaining blood and fluids can drain. Wipe out excess blood and debris using cloths or field wipes.
Field dressing a deer efficiently minimizes contamination and helps preserve meat cleanliness. Take your time and keep your cuts precise.
Post-Field Dressing Procedures & Transportation
Once the deer is properly field dressed, the next step is cooling the carcass and transporting it safely. Hang the carcass in a shady area or prop it on logs or rocks to allow airflow and drainage. Game bags are ideal for covering the cavity, protecting the meat from insects, debris, and excess odor.
Ensure your tag is securely fastened to the carcass according to your state’s regulations. Most states require immediate tagging upon harvest. Use zip ties or waterproof tags to prevent loss.
Use a deer drag harness or game cart to remove the deer from the field efficiently. You can also quarter the deer if necessary, particularly in remote areas.
Commercial services like MeatEater’s WorkSharp Field Gear or Backcountry Hunters & Anglers offer useful tools or educational guides for best field practices.
Keep a cooler with ice packs in your vehicle to chill the meat or carcass once loaded. Never allow a field dressed deer to sit in the sun longer than necessary.
Common Mistakes to Avoid When Field Dressing
Even experienced hunters can slip up. Here are mistakes you should avoid when field dressing a deer:
- Rushing and damaging internal organs (especially the bladder or intestines)
- Cutting too deep and puncturing the stomach
- Forgetting to tag the deer at the kill site
- Using a dull knife that slows you down and causes unsafe slippage
- Ignoring signs of spoilage or disease due to haste
- Not sanitizing your tools after every use
- Neglecting weather conditions which could spoil the meat in transit
Take care to field dress properly, especially if you’re in a group. Use field dressing gloves and practice techniques at home or under the guidance of experienced hunters.
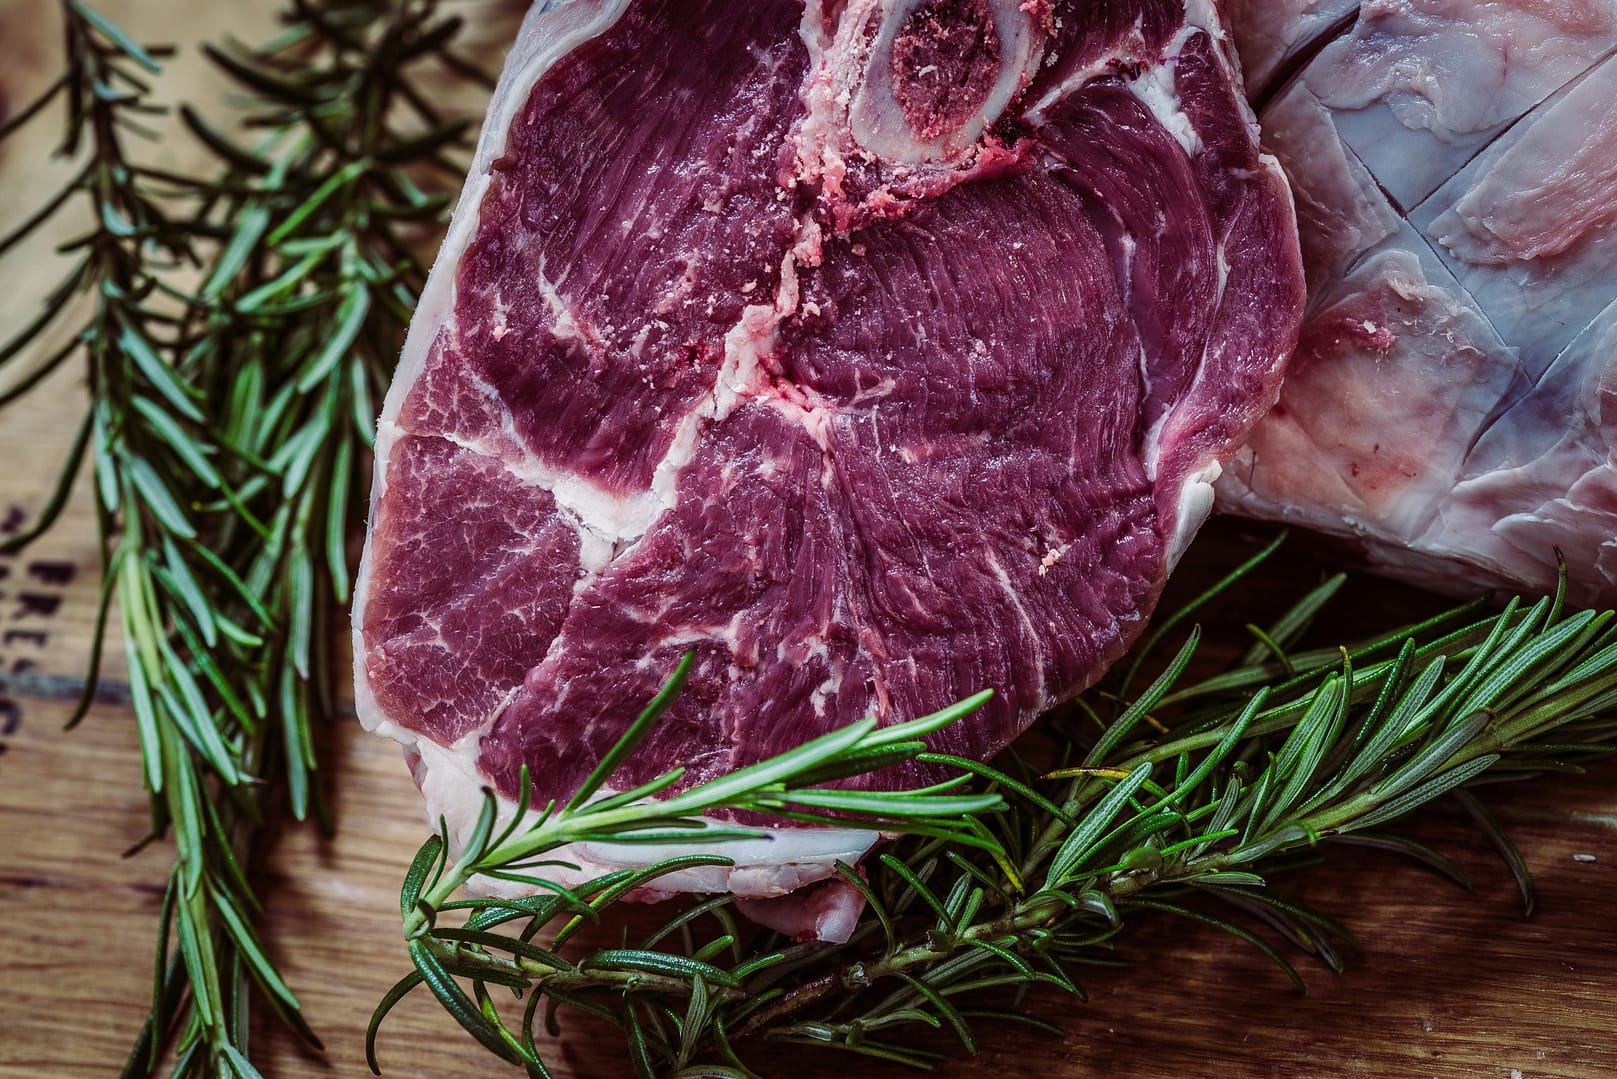
Final Cleaning and Meat Prep Tips
After field dressing a deer and transporting it, some final steps ensure your venison stays clean and delicious. Some hunters rinse the cavity with clean water, while others wipe it down to preserve flavor. Avoid soaking, as water can dilute the meat’s natural taste and introduce bacteria.
Skinning the deer is typically done during the aging process or immediately after quartering. At this stage, time is muscle—get your deer into a cooler or cold room as soon as possible. Ideal aging time for venison is about 5-7 days, depending on the temperature and cut.
If home processing your deer, make sure your butcher’s knives, grinder, and cutting surfaces are clean and organized. Store venison vacuum-sealed or tightly wrapped in butcher paper and label with the harvest date.
Check out our DIY Guide to Butchering and Packaging Deer Meat for more on processing venison in your home workspace.
Conclusion
Field dressing a deer is both a practical and respectful tradition critical to hunting. When done right, it preserves your harvest, maximizes meat quality, and ensures ethical field care. With the right tools, steady preparation, and attention to cleanliness, anyone can master the process. Whether you hunt every season or just drew your first tag, remember: field dressing a deer is a skill that honors both the hunt and the animal. So gear up, stay sharp, and handle your harvest with confidence in the field and beyond.
—
External Resources:
- U.S. Fish & Wildlife Service – Big Game Hunting Regulations and CWD Guidelines: https://www.fws.gov/
- Outdoor Edge – Quality Field Dressing Tools and Knives: https://www.outdooredge.com/
Internal Articles Referenced: