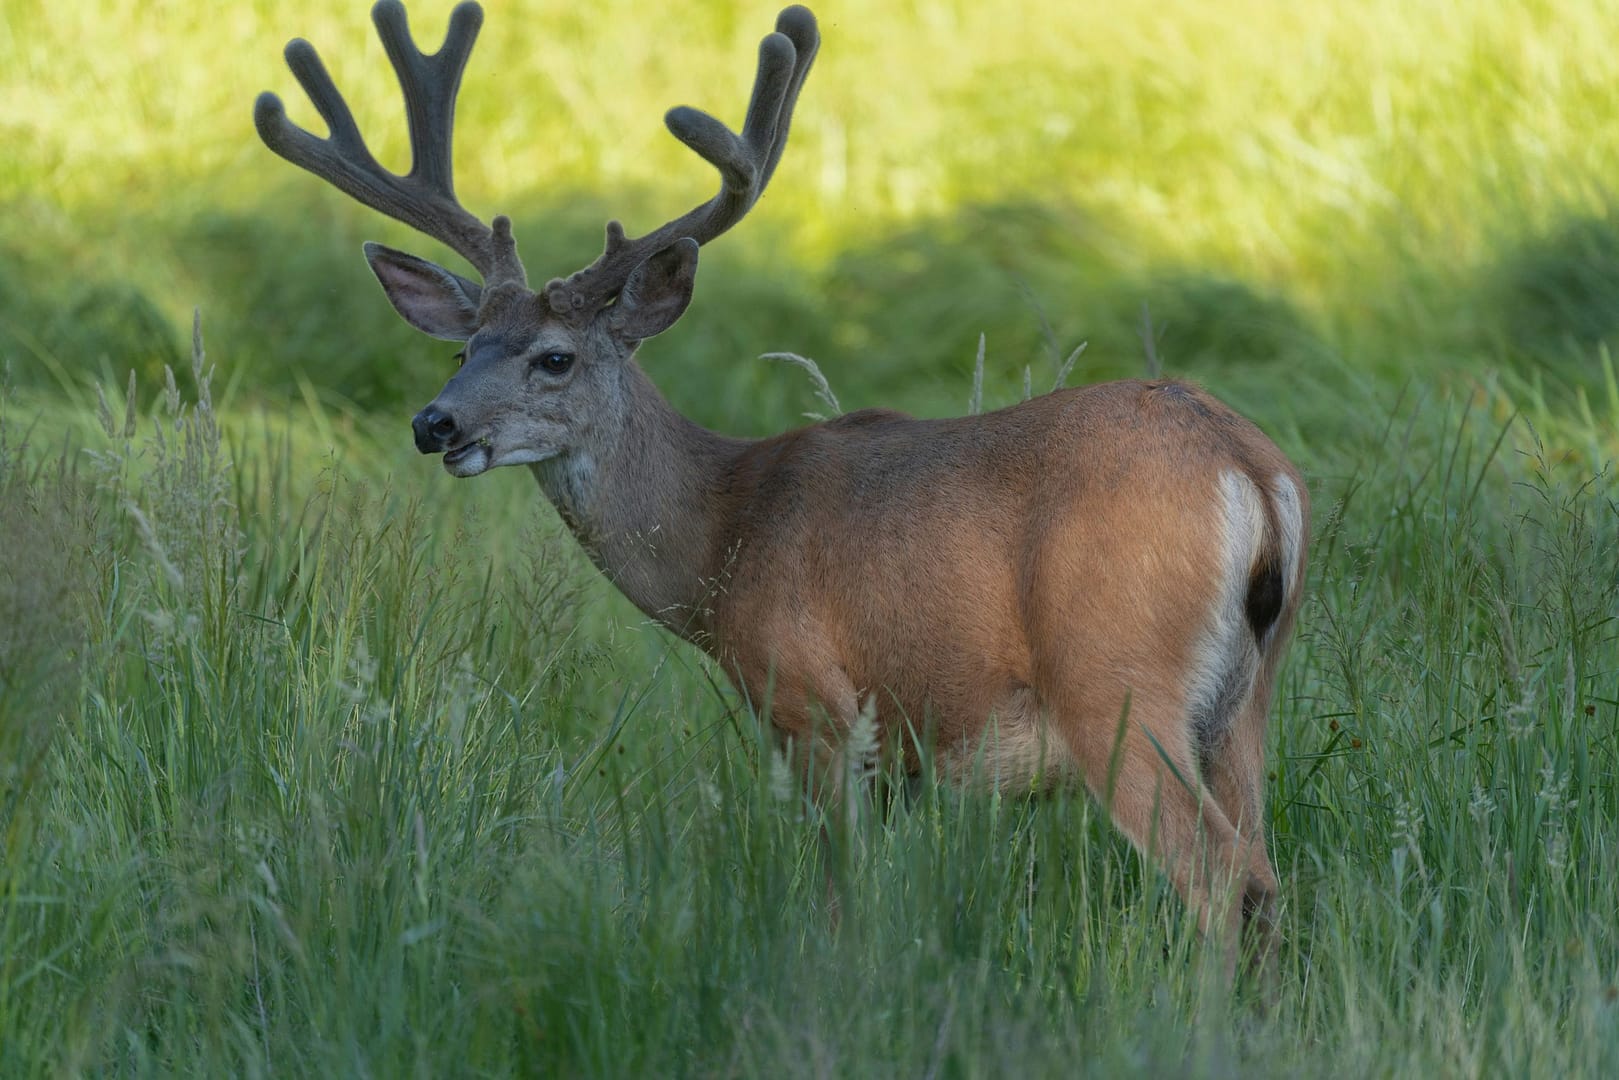
How to Master Deer Processing in 2025: A Hunter’s Essential Guide
Learn expert tips for effective deer processing—from field dressing to aging and butchering—to maximize meat quality, flavor, and long-term storage.
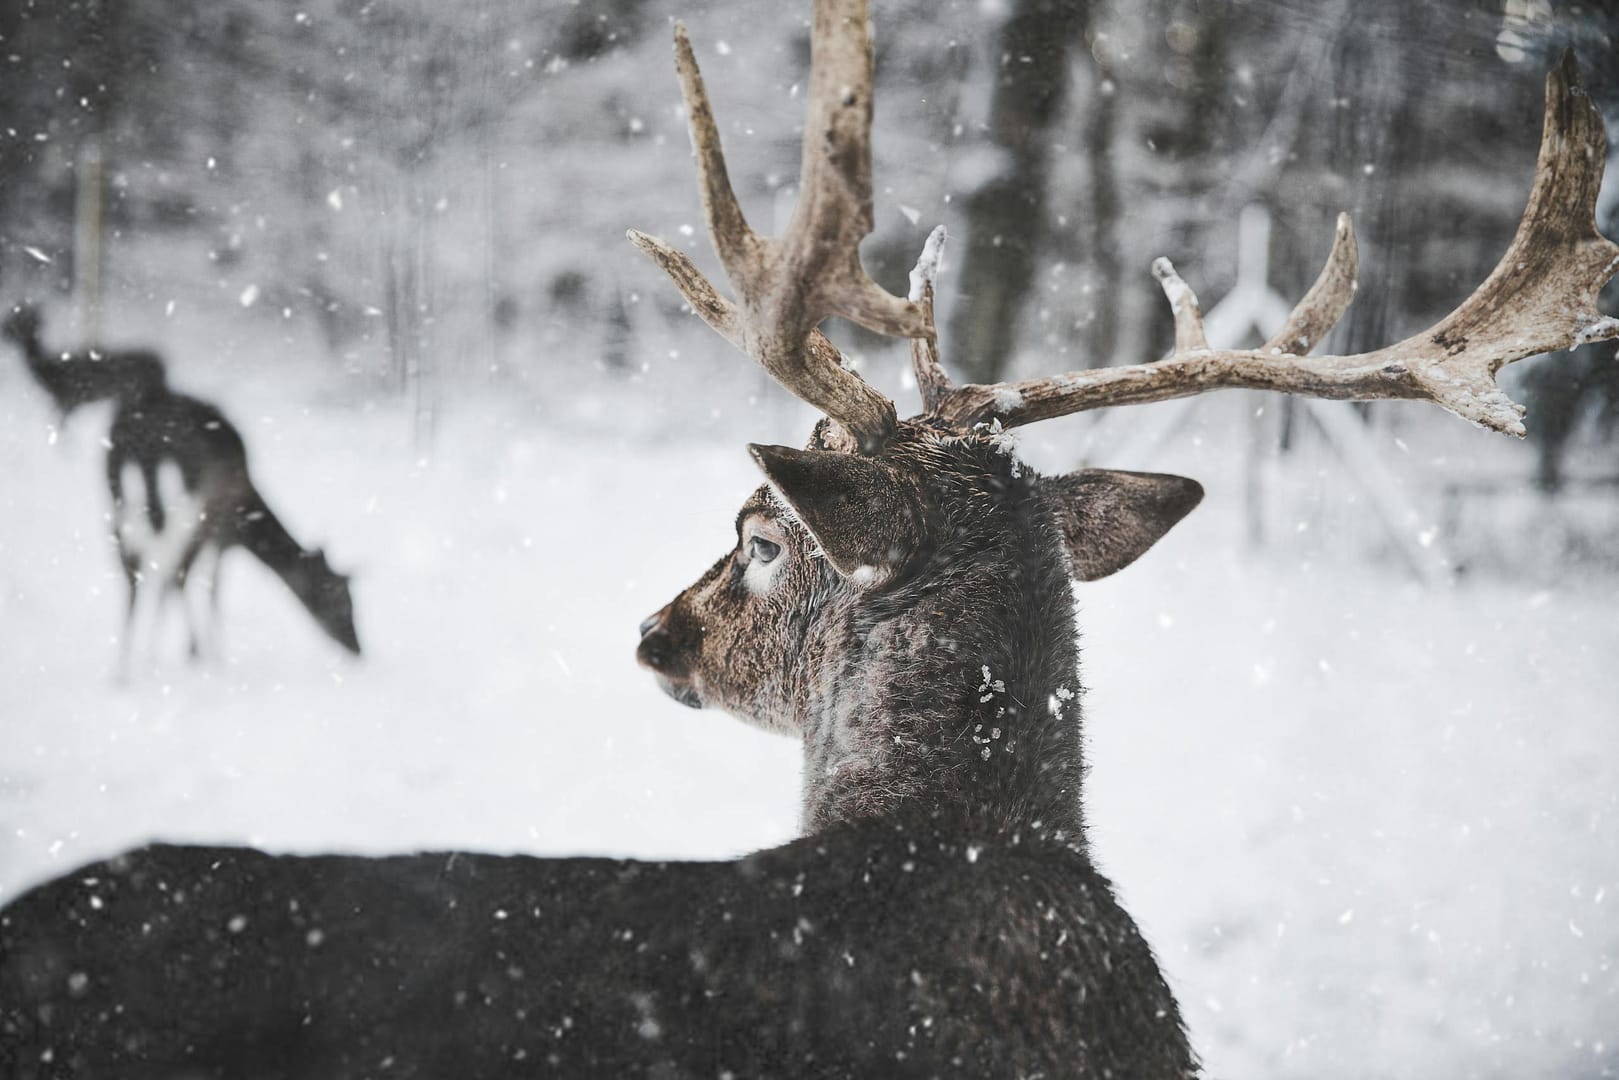
Preparing for Deer Processing in the Field
Deer processing begins the moment a successful harvest is made. Quick and efficient action in the field sets the tone for meat quality and safety. The faster a deer is field dressed, cooled, and transported, the better the end product you’re left with. Delays can result in bacterial growth and a more gamey flavor.
Before heading into the field, every hunter should carry essential tools including a sharp knife, disposable gloves, game bags, and a durable cooler capable of holding an entire deer or at least its quartered pieces. Assessing and choosing the right spot for field dressing, ideally somewhere clean, shaded, and away from footpaths, reduces contamination and ensures smooth deer processing. It’s also crucial to bring sanitation supplies such as cleaning wipes or spray and trash bags for internal waste disposal to avoid drawing predators or scavengers.
Field Dressing a Deer Step-by-Step
Field dressing is a critical part of deer processing and the first real opportunity to preserve meat quality. You’ll need a fixed-blade knife (see our Best Hunting Knife of 2025 guide for recommendations), gloves, and possibly a bone saw.
Begin by positioning the deer with the belly facing upward. Slice along the midline from the sternum to the pelvis, carefully avoiding the intestines and stomach to prevent any rupture. Remove internal organs quickly, checking the liver for spots or discoloration, which can indicate disease. Be cautious not to puncture the bladder or intestines. This step should be done as soon as possible after the kill, typically within 30 minutes, especially in warm weather.
Dispose of organs responsibly and clean the cavity using clean water or snow, if available. Hang the deer head-up to allow it to drain, accelerating the cooling process—a foundation of successful deer processing.
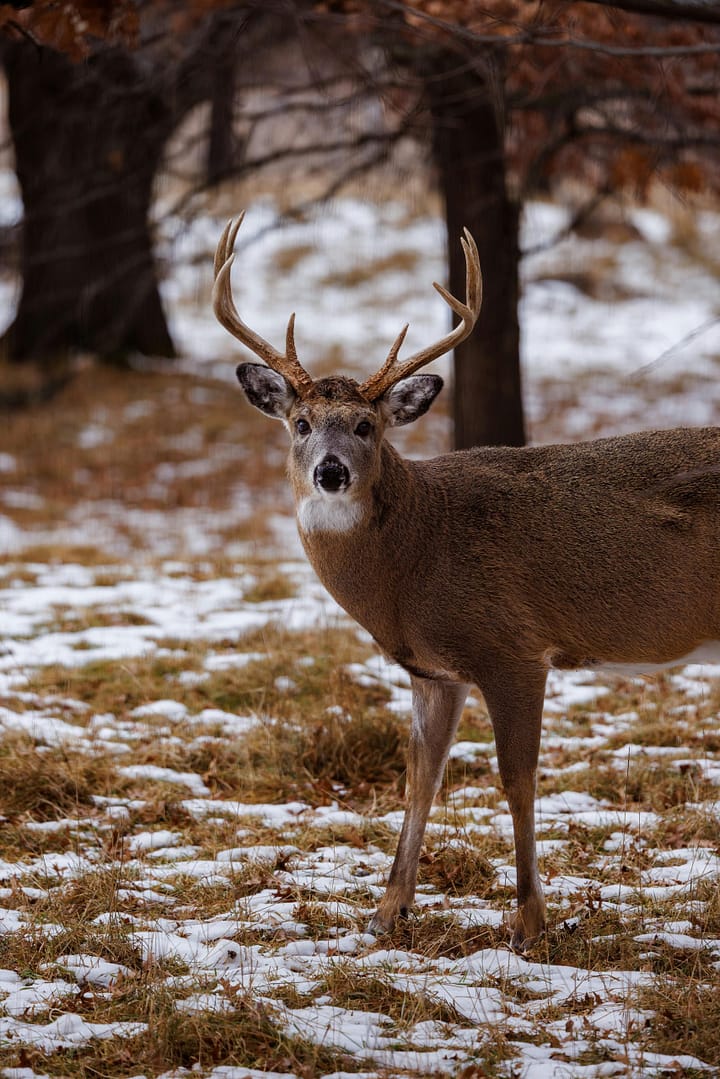
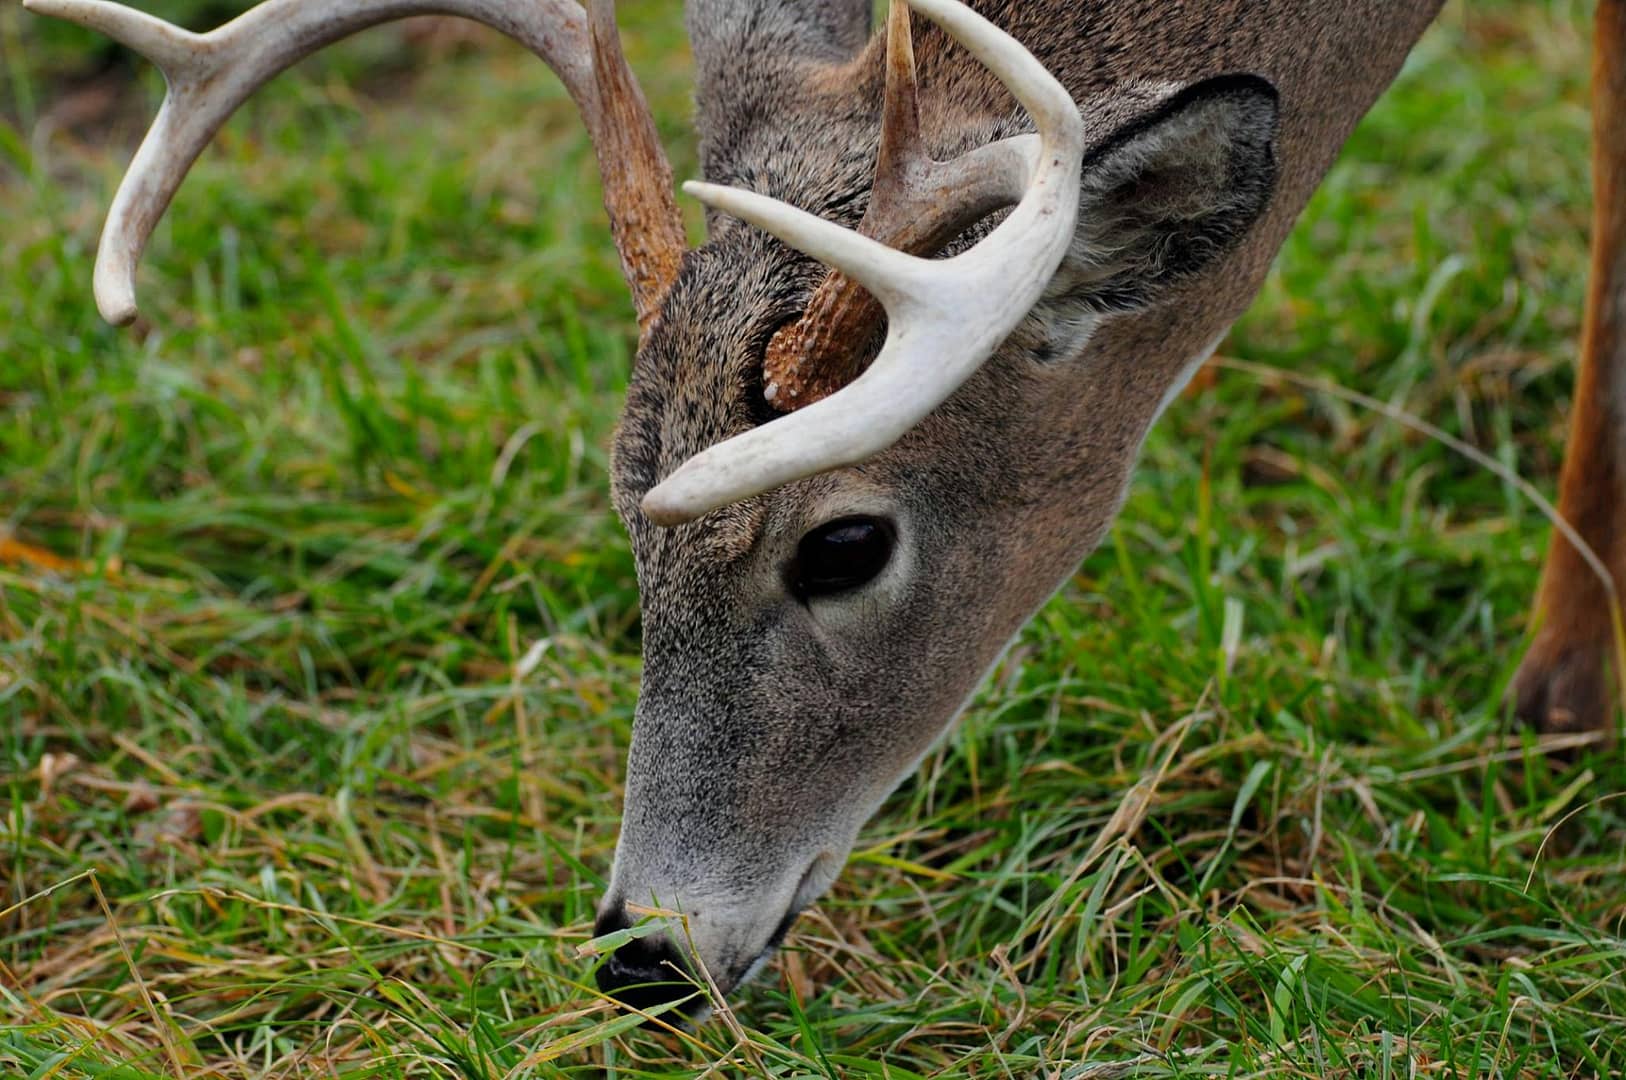
Skinning and Quartering the Deer
Whether you decide to skin your deer immediately or delay the process depends on outdoor temperatures, equipment availability, and aging plans. In general, skinning soon after field dressing makes the task easier since the hide hasn’t tightened.
Hang the deer by the hind legs for gravity-assisted efficiency. Starting from the hind legs, make shallow cuts around the knees and down toward the tail, peeling off the hide as you go. Be methodical — nicking the meat leaves bruises that ruin presentation and taste.
Once skinned, quarter the deer into major sections: shoulders, hindquarters, backstraps, and tenderloins. This makes transport easier, especially if processing off-site or carrying meat long distances. Using game bags protects the meat from insects and debris while preserving cleanliness — an integral deer processing concern.
Aging Venison for Better Flavor and Texture
A good deer processing routine includes aging the meat to improve tenderness and diminish overly gamey flavors. Aging allows natural enzymes to break down muscle fibers, but this must be done under carefully controlled conditions.
Dry aging requires hanging the meat in a space with temperatures between 34°F and 38°F and 80–85% humidity, ideally for 7 to 14 days. Wet aging, more accessible for home processors, involves vacuum sealing meat and refrigerating it for 7–10 days. Avoid aging cuts with excessive damage or exposed tissues, as these are more prone to spoilage.
Signs of spoiled meat include an ammoniacal smell, slimy texture, or discoloration. Adhering to proper procedures ensures that this step enhances rather than endangers your deer processing outcomes.
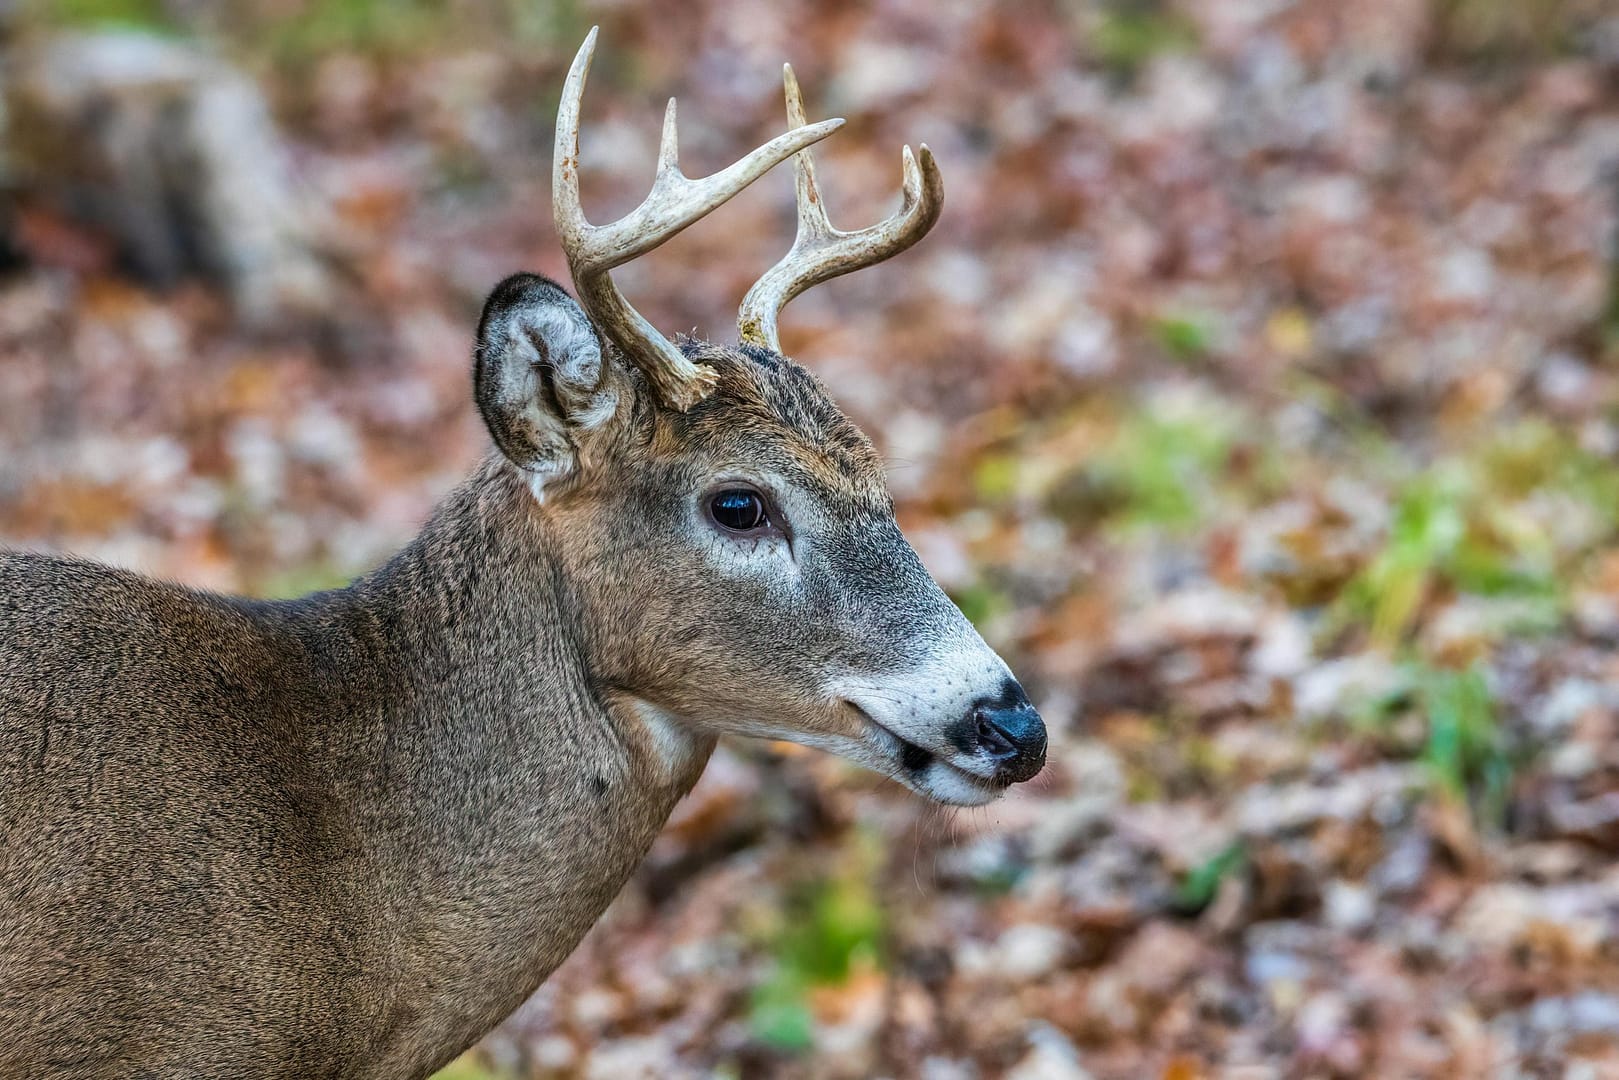
Butchering the Deer — A Cut-by-Cut Breakdown
Butchering is where your deer processing efforts turn from carcass to cuisine. Start with a sanitized workspace, sharp knife set, cutting table, and enough storage equipment to accommodate various cuts.
Understanding deer anatomy matters. Your goal should be to isolate muscles following natural seams to avoid excessive cuts and maintain meat integrity. Common desirable cuts include:
- Backstraps: Long muscles along either side of the backbone — ideal for steaks.
- Tenderloins: Located inside the abdominal cavity — extremely tender.
- Shoulders: Perfect for slow cooking or grinding.
- Hams (hindquarters): Ideal for roasts or stewing.
Trim off silver skin and excess fat — deer fat doesn’t freeze or taste as well as pork or beef fats. Segregate trimmings for grinding, and consider keeping bones for stock. This part of deer processing is where personalized preparation really begins.
Grinding, Packaging, and Storing Venison
Grinding is vital during deer processing, especially for shoulders and less tender cuts. Aim for a meat-to-fat ratio of about 80/20. Many hunters favor pork fat because it melts well and adds rich flavor, though beef suet is also popular.
After grinding, vacuum sealing offers the best protection against freezer burn. Label each package clearly with the type of meat and the processing date. Rotate older packages forward in your freezer to avoid waste.
Venison stored at 0°F remains safe indefinitely, but quality is best if consumed within 9–12 months. Cleanliness and labeling are crucial to avoid contamination and confusion during deer processing.
DIY or Professional Deer Processing Services
Home-based deer processing offers complete control and satisfaction, but not every hunter has the tools or space. That’s where professional services come in. Many butchers offer full-service field-to-pack processing with quick turnarounds and USDA-grade storage environments.
Ask processors about their chilling times, what cuts they offer, and whether they mix multiple deer (some combine trims from several clients for sausage or ground meat unless you opt out). Prices typically range from $75 to over $300 depending on customizations.
A hybrid method—field dressing and quartering at home; professional butchering offsite—lets you enjoy the outdoorsy part of deer processing while ensuring expert results.
Common Mistakes in Deer Processing (And How to Avoid Them)
Even seasoned hunters can make mistakes that undo their deer processing efforts. Common issues include:
- Delayed field dressing, which increases internal temperatures
- Improper aging without regulated temperature and humidity
- Cross-contamination from dirty tools or gloves
- Over-trimming meat or wasting lesser-known cuts
- Using poor packaging materials that result in freezer burn
Avoid these pitfalls with preparation, proper tools, and a clear plan. Deer processing is both an art and a science — being methodical ensures success.
Recipes and Cooking Tips for Processed Venison
Once your deer processing is complete, it’s time to enjoy the harvest. Cooking methods vary by cut:
- Backstraps: Best grilled or pan-seared
- Tenderloins: Flash-fried or wrapped in bacon and roasted
- Shoulder: Ideal for stews, pulled meat, or grinding
- Hindquarters: Great as steaks or roasts
Tougher cuts benefit from marinating or slow cooking. If you’re looking to reduce the gamey flavor, try soaking the meat in buttermilk or using acidic marinades with garlic, rosemary, or vinegar.
Popular recipes include venison chili, Italian sausage, smoked jerky, burgers, and bone soup — all of which start with high-quality deer processing.
Conclusion
Deer processing is far more than a post-hunt formality — it’s a transformative skill that lets you optimize flavor, safety, and yield from your wild game. By mastering field dressing, aging, butchering, and packaging, you can feel confident that every step honors both the animal and your effort.
Whether you choose the DIY route or enlist professional services, applying correct deer processing techniques ensures your venison tastes amazing and lasts throughout the season.
Explore the Master Deer Anatomy and Processing: The Ultimate 2025 Guide for more expert insight into making your hunts as rewarding as possible.
External Resources
- MeatEater – Wild Game Processing Gear and Tips: https://www.themeateater.com
- USDA Food Safety for Wild Game: https://www.fsis.usda.gov/food-safety/safe-food-handling-and-preparation/wild-game