
Deer Anatomy: 5 Vital Lessons for Ethical and Accurate Shots
Understanding deer anatomy is one of the most important aspects of ethical and successful hunting. Early in my hunting journey, I relied on common advice like, “Just aim behind the shoulder.” While that’s not entirely wrong, experience—and a few mistakes
Introduction
Understanding deer anatomy is one of the most important aspects of ethical and successful hunting. Early in my hunting journey, I relied on common advice like, “Just aim behind the shoulder.” While that’s not entirely wrong, experience—and a few mistakes—have taught me a deeper understanding of deer anatomy and how shot placement can make or break a hunt. In this article, I’ll share key lessons I’ve learned about deer anatomy, shot placement, and how practice plays a critical role in making every shot count.
Shot Placement: Lessons from the Field

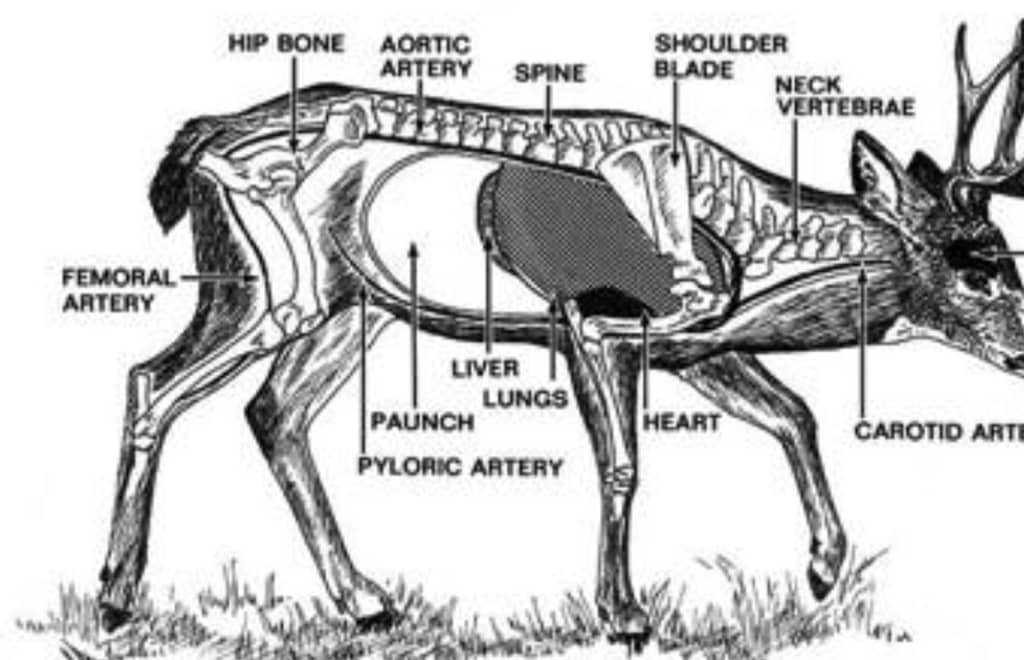
When I first started hunting, the golden rule was “shoot behind the shoulder.” Over time, and after processing a few animals, I realized that a direct shoulder shot is often the best choice. It’s a larger target, hits vital organs like the lungs and heart, and minimizes the risk of a poor shot.
I’ve seen this firsthand with elk hunting. A solid shot right through the shoulder often drops the animal quickly and minimizes suffering. Of course, things don’t always go according to plan. One of my hunting buddies took an uphill archery shot at about 55 yards and hit high on the back. Surprisingly, the deer dropped almost instantly. It turned out he had hit the aortic artery—a one-in-a-million lucky shot.
The lesson here is simple: understanding deer anatomy helps improve shot placement, but hunting will always involve a little unpredictability. However, the more you know about vital areas, the more consistent your results will be.
Related Read: The Ultimate Guide to Deer Hunting in 2024: Tips, Gear, and Techniques
Differences Between Bucks, Does, and Other Game Animals
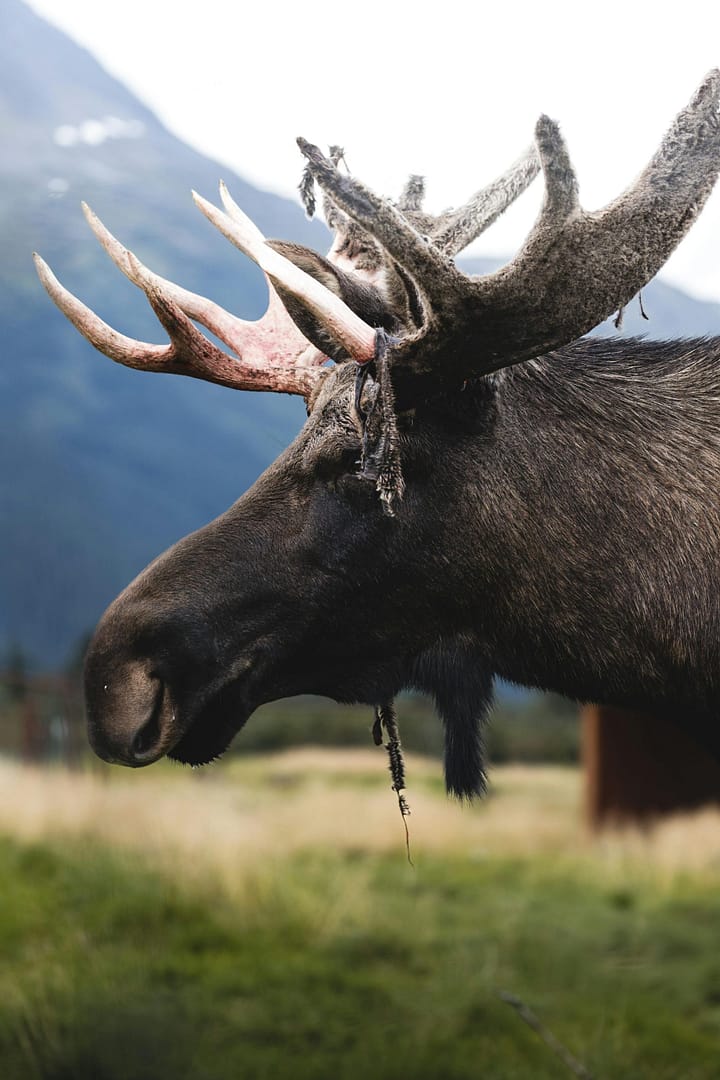
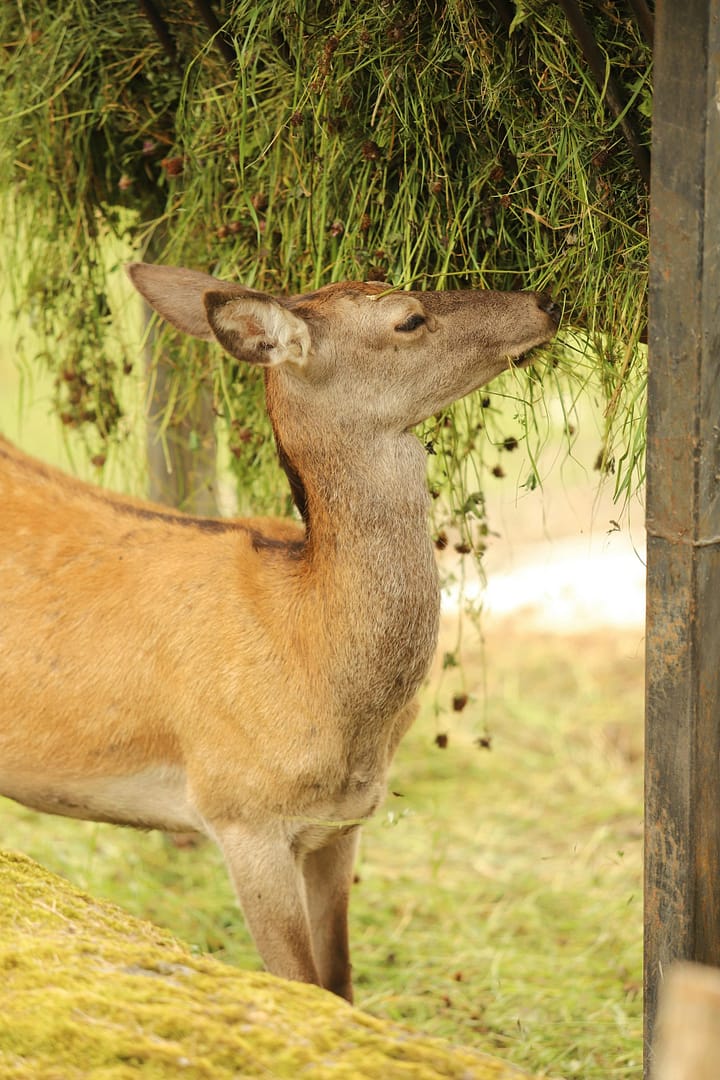
In Arizona, hunting does isn’t permitted, so my experience is mostly with white-tailed deer, mule deer, and elk. While there are subtle anatomical differences between bucks, does, and even fawns, the general principle remains the same: aim for the vitals.
One consistency I’ve noticed is the ideal shot placement—a shoulder shot, slightly behind but not too far back. That spot provides a clean hit to the lungs and sometimes the heart. However, every animal, every shot angle, and every situation can differ slightly. That’s where experience and understanding deer anatomy really come into play.
Practical Tools for Studying Deer Anatomy
There’s a reason why experienced hunters stress practice, and for me, 3D targets have been a game-changer. Brands like Cabela’s, BigShot Archery, and Rinehart Archery produce high-quality deer targets that simulate real-life scenarios.
These aren’t just for aim practice—they teach you about deer anatomy. You start to understand where the vitals are located, how the body angle impacts your shot, and how terrain can change everything. Shooting at a 3D target uphill or downhill replicates real-life hunting conditions far better than paper targets ever could.
I can’t emphasize enough how valuable these tools have been for me. If you’re serious about hunting, invest in a good 3D target and practice consistently.
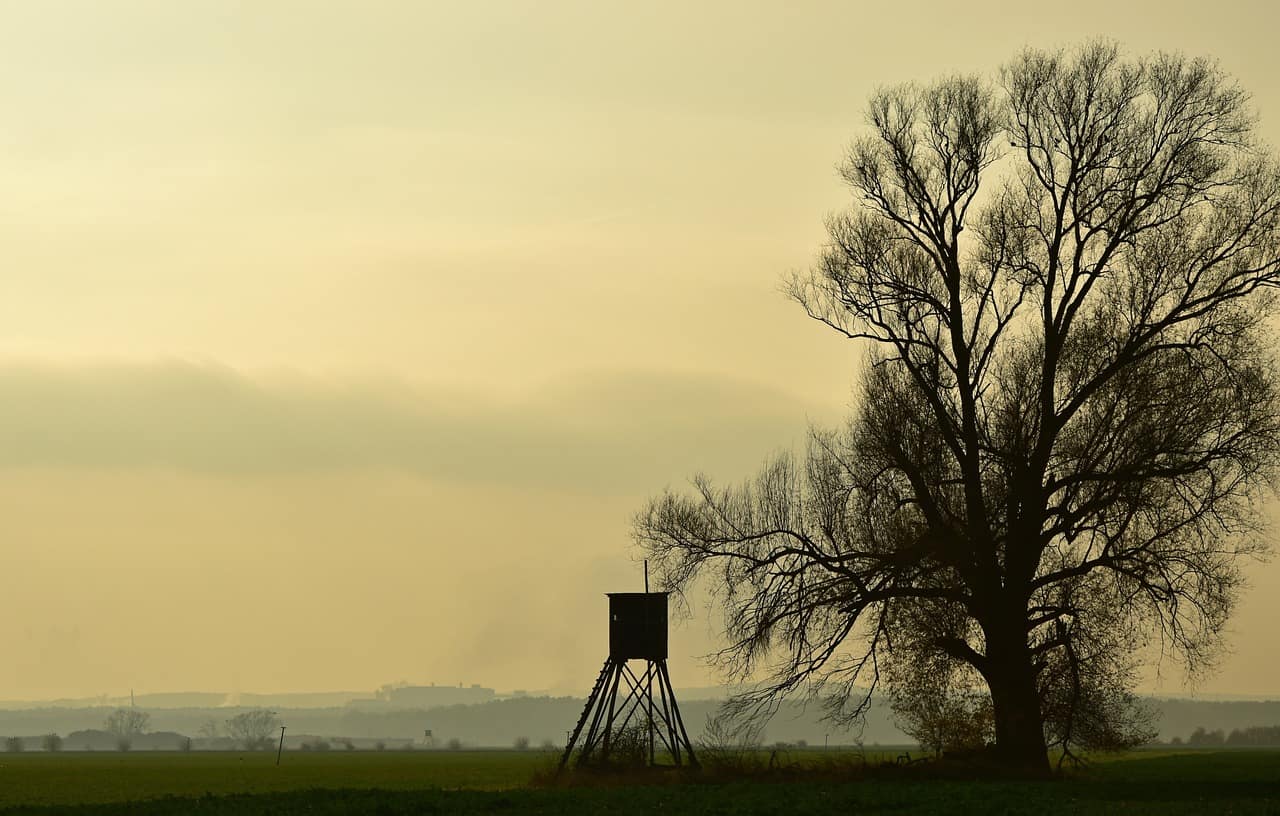
Related Read: How to Set Up a Deer Stand for Maximum Success
The Importance of Practicing Real Scenarios
If there’s one piece of advice I could give to a new hunter about deer anatomy and shot placement, it’s this: Practice as much as possible, and practice every possible scenario.
I learned this lesson the hard way on an archery hunt from a tree saddle. A deer walked in at 15 yards—an easy shot on flat ground, or so I thought. It was my first time shooting from a tree saddle, and I hadn’t realized how the angle would affect my shot. I drew back, released, and the arrow flew high and right.
I tracked that deer for hours with my dad and a friend, following small blood trails until they disappeared completely. That moment still stings. The frustration, the regret, and the realization that better preparation could have prevented that mistake—it’s something I carry with me into every hunt.
If you’re a new hunter, don’t make the same mistake I did. Practice uphill shots, downhill shots, from tree stands, and from every angle imaginable. It is our duty to practice as much as possible to give that animal a clean, ethical, and effective kill. Understanding deer anatomy is one thing; applying it in the moment is another.
Recommended Resources for Learning Deer Anatomy
When it comes to studying deer anatomy, there’s no shortage of tools and resources out there. Companies like Rinehart Archery and BigShot Archery offer realistic targets that help hunters visualize vital areas. If you’re looking for more detailed anatomy diagrams, the National Deer Association (NDA) website offers fantastic educational materials for hunters and wildlife enthusiasts alike.
Additionally, apps like OnX Hunt can help you plan your shots based on deer movement patterns and terrain—both factors closely tied to a deer’s anatomy and behavior.
Conclusion
Understanding deer anatomy isn’t just a technical skill—it’s a responsibility. Every hunter owes it to the animal to make the cleanest, most ethical shot possible. Whether it’s aiming directly at the shoulder, practicing with 3D targets, or studying diagrams and anatomy guides, every bit of preparation matters.
The woods are unpredictable, but with knowledge, practice, and the right mindset, you can set yourself up for success. Don’t skip the study sessions, don’t overlook the small details, and above all, don’t stop practicing. It could make the difference between a long, frustrating track and a clean, quick harvest.